How to Make Animated Minecraft Skins
Introduction
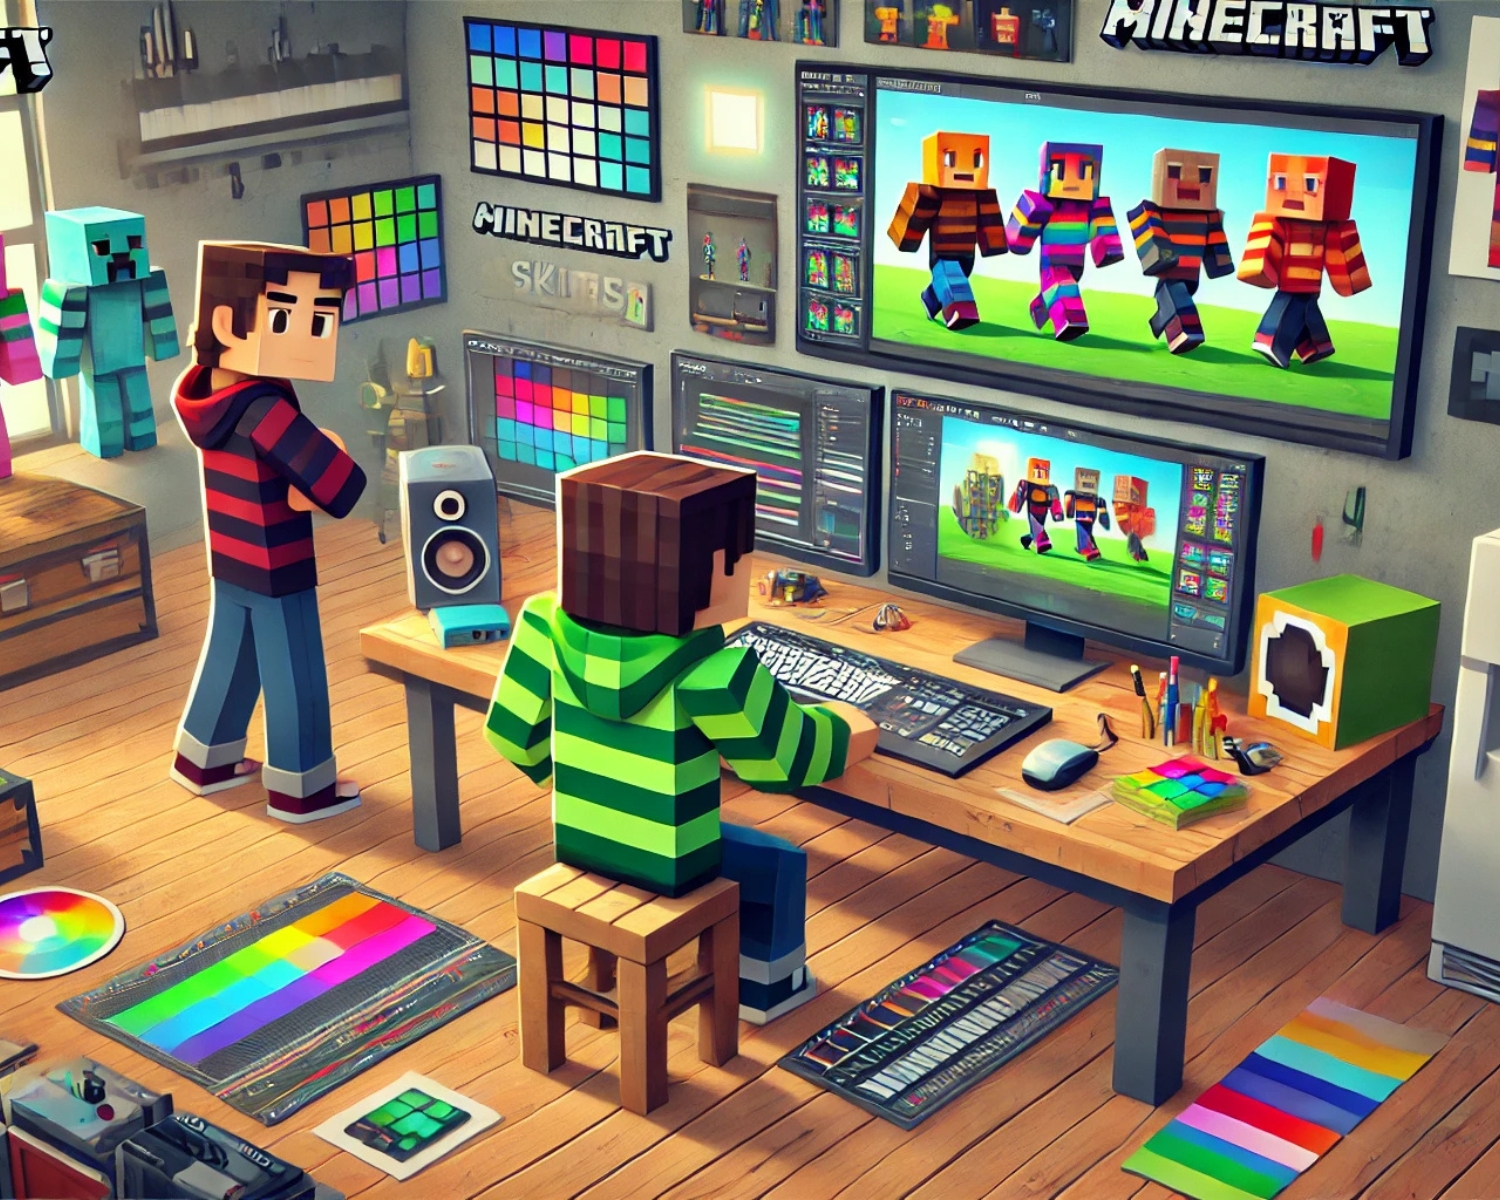
Animating your Minecraft skin can add an extra level of personality to your in-game character, making you stand out in multiplayer servers. While standard Minecraft skins are static, adding animation effects can be achieved through a few creative workarounds. In this blog, we’ll walk you through how to make animated Minecraft skins, explore tools and techniques, and give tips to bring your Minecraft avatar to life.
1. Understanding Animated Skins in Minecraft
Currently, Minecraft doesn’t support full-fledged animated skins within its vanilla game. However, there are several ways to simulate animation effects with frame-based skin switching, layer techniques, and texture pack editing. These options can give your character the appearance of movement or change colors, making it look animated without modifying the game.
Example: By layering multiple frames as different textures, you can simulate blinking eyes, flashing patterns, or changing colors on your character’s skin.
2. Using Skin Layers for Frame-by-Frame Animation
The most straightforward approach to animating Minecraft skins involves creating multiple frames of a character’s skin and switching between them manually or using an external tool that supports rapid frame switching.
Steps to Animate Using Layers:
- Create Multiple Frames: Design different frames representing each step of your desired animation, such as a character’s eyes opening and closing.
- Save Frames as Individual Skins: Save each frame as a separate skin file (e.g., Frame_1, Frame_2, etc.).
- Switch Frames Manually or with a Tool: You can change skins manually or use a skin-changing mod (like TLauncher or Lunar Client) to automate frame switching, giving the illusion of animation.
Tip: For a blinking effect, create at least three frames: eyes open, half-open, and closed. Switch between these frames to achieve a smooth blinking effect.
3. Using Resource Packs for Advanced Animation
Resource packs can offer an advanced way to animate your Minecraft skin, especially if you’re playing on a server that supports custom resource packs.
Steps to Animate Using Resource Packs:
- Create Textures: Create your animation frames as texture images and arrange them sequentially on a single image file.
- Edit the Resource Pack: Modify the pack’s .properties file to sequence your textures as frames and set the speed for switching frames.
- Load the Pack in Minecraft: Place the resource pack in your Minecraft directory, then load it from the options menu. This setup works well for cape animations or textures on armor if you want an advanced animated look.
4. Try Minecraft Mods for Full Animation Effects
Certain Minecraft mods, such as Blockbuster Mod or Mpm (More Player Models), allow for complex animations and are widely used for custom animations in Minecraft machines and role-play servers.
Example: Using Blockbuster Mod, you can create walking animations, waving gestures, and other movements that add depth to your character’s interactions.
Conclusion
Although Minecraft doesn’t natively support animated skins, creative players can still achieve animated effects through techniques like frame-by-frame skin switching, resource packs, and mods. With patience and the right tools, you can bring your Minecraft character to life, making your skin unique and eye-catching.
#MinecraftSkins #AnimatedSkins #MinecraftMods #MinecraftTips #MinecraftCustomization #GamingCreativity #SkinDesign #AnimatedCharacters #MinecraftCommunity #ModdingMinecraft


