How to Create Your Sorcery or Necromancer Skin in Minecraft
Introduction
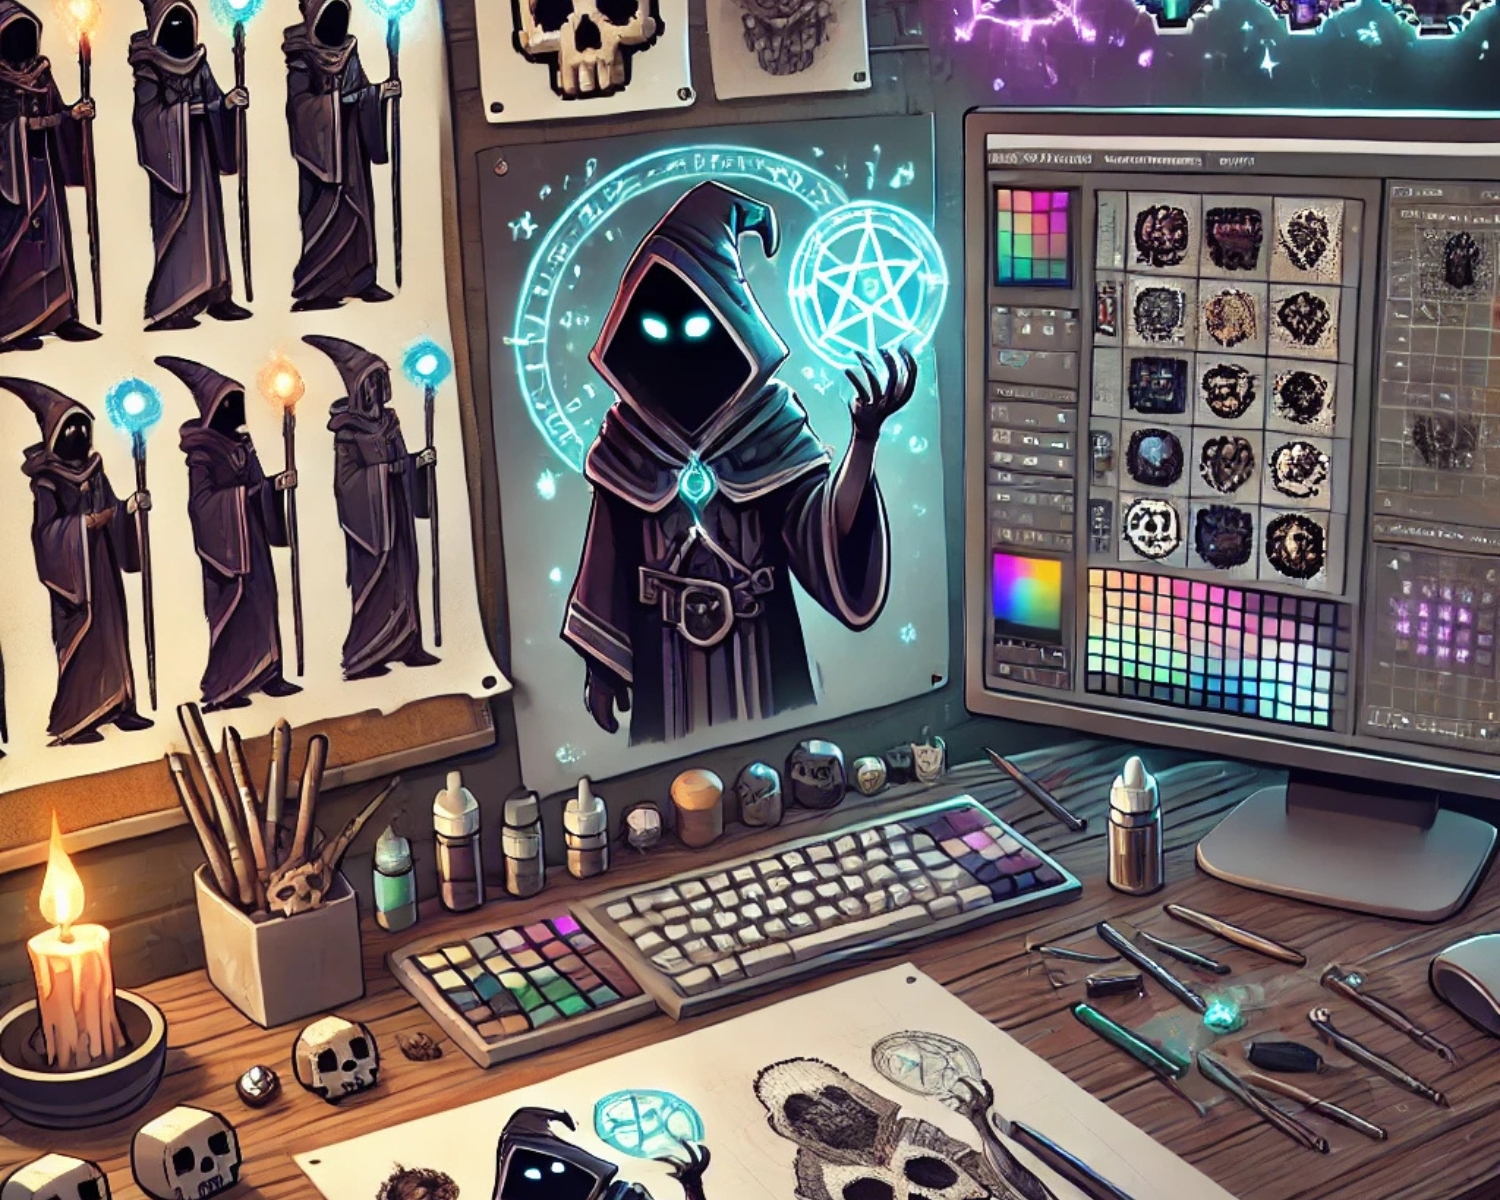
Minecraft offers endless opportunities for creativity, and one of the most fun aspects of the game is customizing your character’s look. For fans of magic and the dark arts, creating a Sorcery or Necromancer skin can immerse you even further into the magical world of Minecraft. Whether you want to design a powerful wizard, a fearsome necromancer, or a mysterious sorcerer, here’s a step-by-step guide to creating your unique skin.
1. Choose Your Design Concept
Before diving into the creation process, decide on the look of your Sorcery or Necromancer skin. Consider the following elements:
- Sorcery: Focus on robes, magical symbols, wands, staffs, and glowing effects. Think about colors like blue, purple, or gold to signify magical power.
- Necromancer: Choose dark, eerie elements like skulls, bones, and cloaks and a pale, death-like appearance. Black, gray, and dark green colors often evoke a necromantic vibe.
Tip: Browse other Minecraft skins for inspiration, or sketch your idea on paper first.
2. Choose a Skin Editor Tool
There are several Minecraft skin editors available online that make creating and editing skins simple:
- Skindex: One of the most popular skin editors, offering a wide selection of skins to modify and a powerful editing tool for customization.
- Nova Skin: Another fantastic tool with various features, including 3D previews to see how your skin will look in the game.
- MinecraftSkinEditor: This tool allows you to design your skin pixel-by-pixel, giving you complete control over every detail.
Tip: Choose an editor you’re most comfortable with and explore its tools to familiarize yourself with the interface.
3. Start with a Template
Select a blank template or a template for your design idea to get started. A default character template gives you a clean slate to work on. From there, you can adjust details to match your theme.
- For Sorcery: Add magical elements like glowing symbols, wands, and mystical patterns to the robe or staff.
- For Necromancer: Use dark shades, create a hood, and add skulls, bones, and a dark cloak to give your character a deathly, commanding presence.
4. Customize with Color and Detail
Use the pixel editor to fill your skin with color, shading, and detailing. Pay attention to:
- Shading: Proper shading can give your skin depth and make it more dynamic.
- Textures: For a necromancer, add textures like cracks or bone patterns. For a sorcerer, glowing elements and intricate designs can make your skin stand out.
Tip: Use layers of colors to highlight robes, facial features, and accessories.
5. Upload Your Skin to Minecraft
Once you’re happy with your creation, save the skin file and upload it to your Minecraft account:
- Open Minecraft and go to Profile.
- Click on Change Skin and select the file you created.
- Choose the Slim or Classic model, depending on your character type.
Conclusion
Designing your own Sorcery or Necromancer skin in Minecraft is a great way to personalize your character and immerse yourself in the game’s mystical world. By following these steps, you can create a skin reflecting your magical or dark powers, enhancing your Minecraft adventure and making it your own.
#MinecraftSkins #MinecraftCustomization #SorcerySkins #NecromancerSkins #MinecraftMagic #MinecraftDesign #GamingCreativity #MinecraftMods