How to Convert Your Favorite Artwork into a Minecraft Skin
Introduction
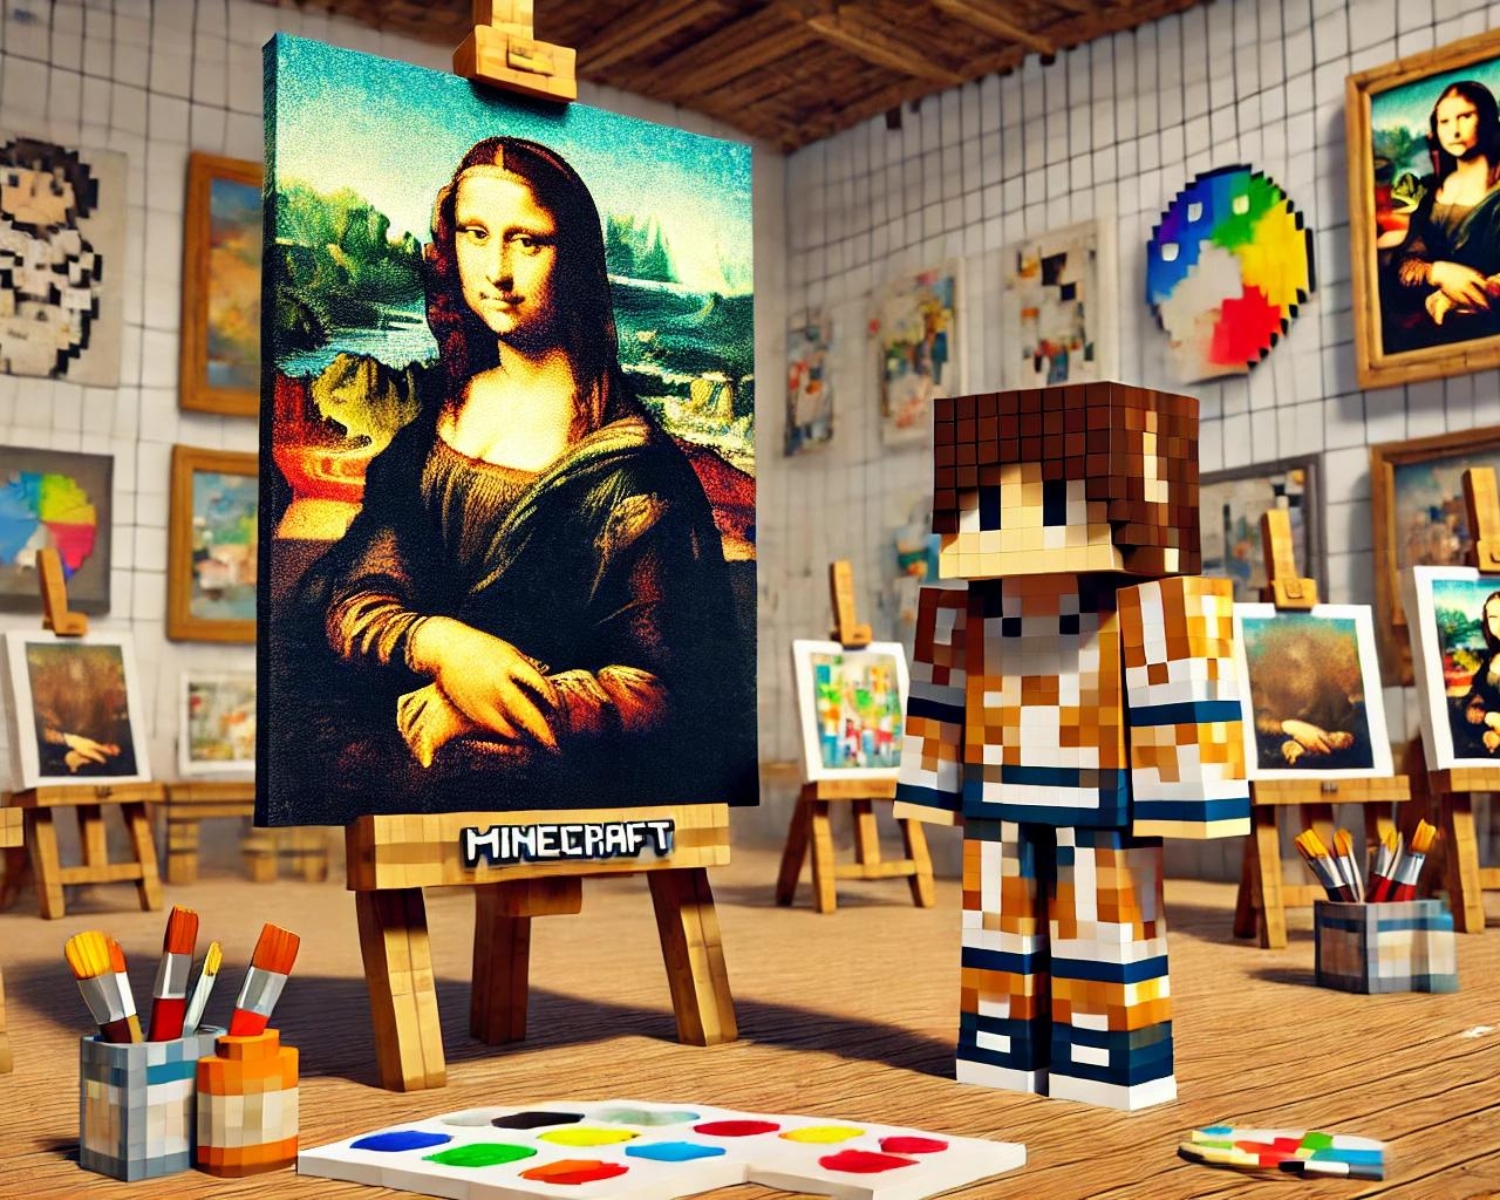
Minecraft allows for creative customization of game skins, allowing art lovers to transform their favorite artwork into playable characters, merging classic art and digital gaming. This guide provides step-by-step instructions.
Step 1: Choose Your Artwork
Selecting the Right Piece
- Detail and Color: Choose artwork that has a distinctive style or color palette. Remember, Minecraft skins are created on a small canvas, so overly complex images might not translate well.
- Emotional Connection: Pick a piece of art that resonates with you. This connection will make the process more enjoyable and the result more meaningful.
Step 2: Plan Your Design
Breaking Down the Art
- Key Elements: Identify the key elements in the artwork that define its style and character. This could be a particular pattern, specific colors, or iconic symbols.
- Simplification: Consider how these elements can be simplified or stylized to fit into the pixelated Minecraft world.
Step 3: Choose Your Tools
Minecraft Skin Editors
- Skindex Editor: User-friendly and web-based, this tool is great for beginners.
- Nova Skin: Offers slightly more advanced features and also operates directly from your browser.
- MCSkin3D: Is a standalone program that provides a 3D preview of your skin as you design it.
Step 4: Create Your Skin
Translating Art to Pixels
- Layout: Minecraft skins are made up of six parts: the head, body, two arms, and two legs. Plan how the elements of your artwork will cover these parts.
- Drawing: Start by blocking in solid colors, followed by adding details. Use your chosen skin editor to paint each pixel, referring back to your artwork often.
- Symmetry and Detail: Focus on getting the front of the character right, as this is what you see most often in the game. However, don’t neglect the back and sides.
Step 5: Test and Refine
Bringing Your Skin to Life
- Testing In-Game: Upload your new skin to Minecraft and see how it looks in different environments. The game’s lighting and landscape can affect how colors and details appear.
- Adjustments: Based on your observations, you may need to go back and tweak colors or details to better capture the essence of the original artwork.
Step 6: Share and Get Feedback
Engaging with the Community
- Community Feedback: Share your creation on platforms like Reddit, Planet Minecraft, or even within Minecraft servers to get feedback.
- Iterative Improvements: Use the feedback to make your skin even better. This iterative process can help you refine your skills and produce an even more faithful representation of the artwork.
Conclusion
Converting your favorite artwork into Minecraft skins is a rewarding project that bridges the gap between traditional art and digital expression. Not only does this process deepen your connection to both mediums, but it also enhances your gaming experience by adding a personal touch to your adventures. Whether you’re a seasoned artist or new to digital design, each step you take in this creative journey enriches your appreciation of art and gaming. Happy crafting!
#MinecraftSkinCreation #DigitalArt #MinecraftCustomization #ArtInGaming #PixelArt


