How to Create Your Own Optimus Prime Minecraft Skin: A Step-by-Step Guide
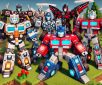
Optimus Prime, the iconic leader of the Autobots, is one of the most beloved characters from the Transformers universe. Imagine bringing him to life in the blocky world of Minecraft by creating your own custom Optimus Prime skin. Whether you’re a fan of Minecraft or Transformers, this guide will walk you through making your very own Optimus Prime skin.
Step 1: Choose a Skin Editor
To get started, you’ll need a Minecraft skin editor. Several online tools and software allow you to create and edit Minecraft skins. Some popular options include:
- Skindex (Minecraftskins.com)
- NovaSkin
- MCSkin3D (for a downloadable editor)
Each tool offers an intuitive interface that makes it easy to color, design, and preview your Minecraft skin as you go.
Step 2: Gather Inspiration and References
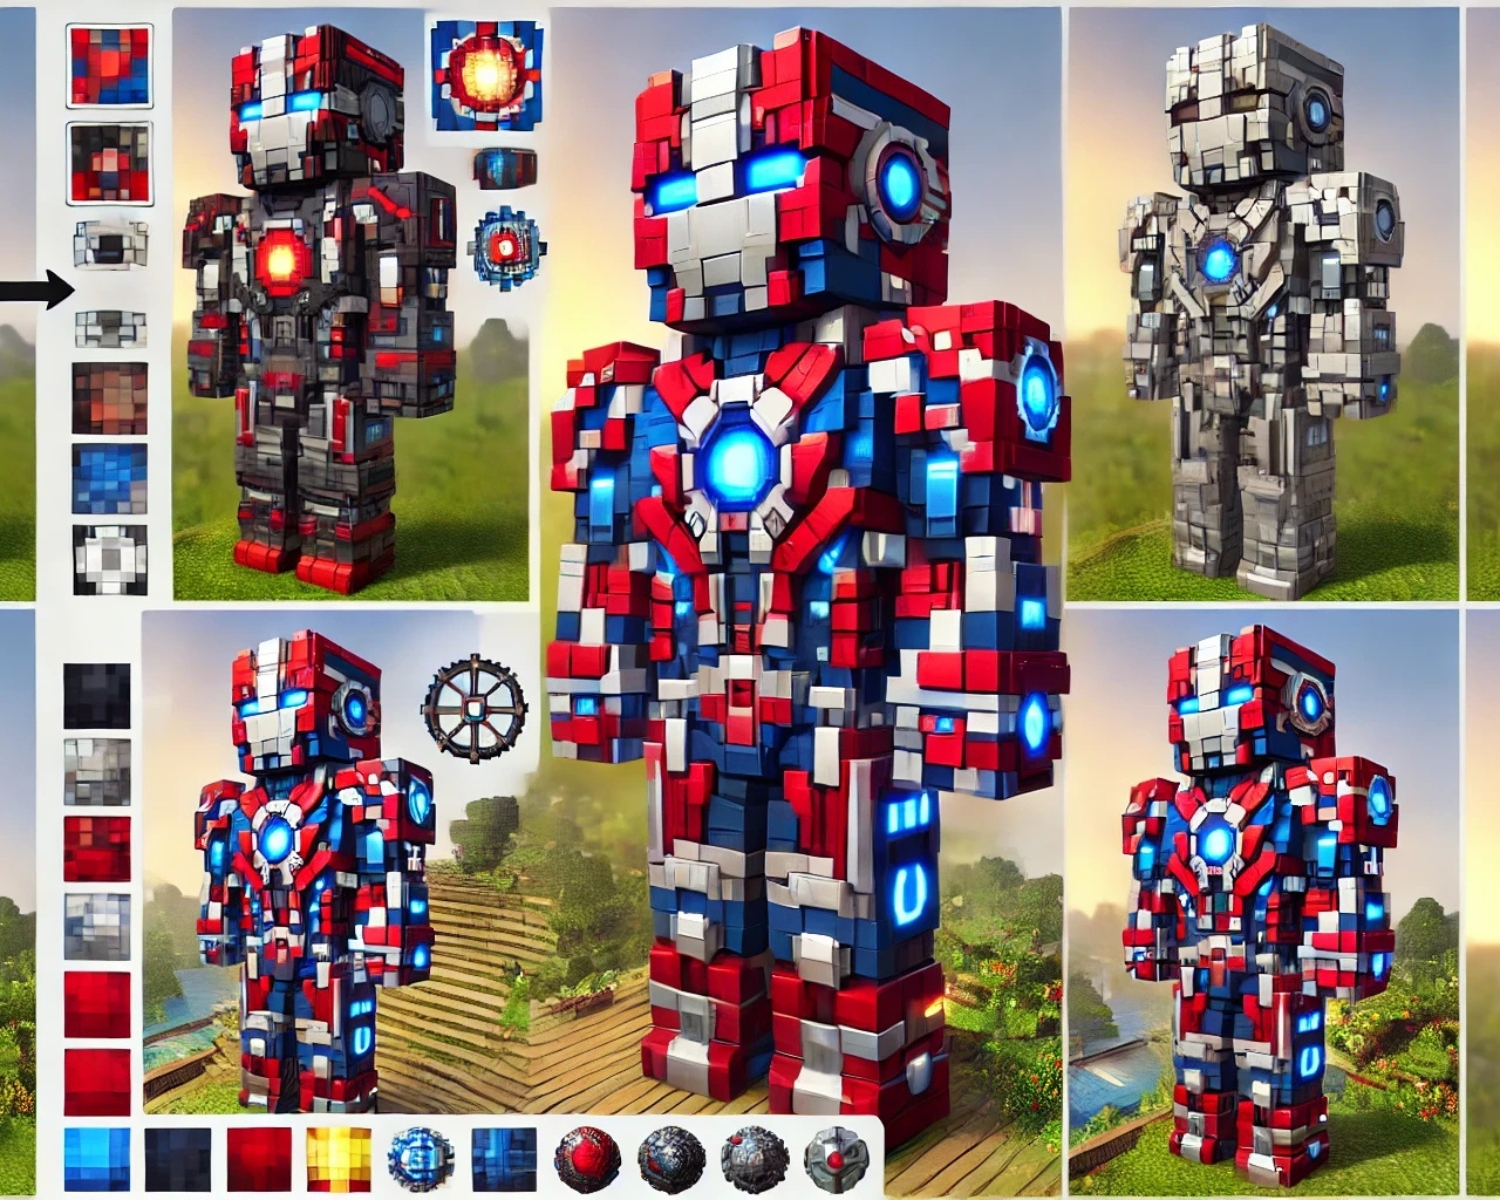
Before you start creating the skin, gather some references to Optimus Prime. Whether you prefer the classic 1980s animated version, the movie version, or something in between, have a reference image handy for accuracy. Look for details like Optimus Prime’s red and blue armor, Autobot symbol, and robotic features.
Step 3: Start with the Base Template
In your chosen skin editor, start with the blank skin template. The Minecraft skin is a flat 2D image that wraps around the 3D Minecraft character model. You’ll need to color in different sections to represent the head, arms, legs, and body. Most editors will show you a live 3D preview of your design as you work.
Step 4: Block Out the Primary Colors
Optimus Prime’s design is primarily red, blue, and gray. Start by blocking out these base colors:
- Head and chest: Use red for the top of the head and chest armor.
- Arms and legs: Apply blue to the arms and legs.
- Details: Use gray or silver for mechanical detailing, such as the legs, joints, and faceplate.
Be sure to add some texture by using darker or lighter shades of these colors to create depth.
Step 5: Add Details and Refinements
Now, it’s time to add critical details that make Optimus Prime stand out:
- Faceplate: Use silver/gray to create Optimus’s iconic faceplate and visor.
- Chest windows: Add blue or black windows to represent the truck windows on the chest area.
- Autobot symbol: If you’re feeling ambitious, try adding the Autobot symbol on the shoulder or chest. Remember that it will need to be simplified due to the small size of the Minecraft skin grid.
Step 6: Preview and Save
Once you’re happy with the design, preview your work in 3D to ensure all the details align correctly. Make any final adjustments, and then save your skin.
Step 7: Upload to Minecraft
Finally, upload your new Optimus Prime skin to Minecraft. To do this:
- Visit the Minecraft.net website and log in.
- Navigate to the Skins section and upload your newly created Optimus Prime skin.
- Load up the game and enjoy playing as the fearless leader of the Autobots!
Conclusion
Creating your own Optimus Prime skin for Minecraft is a fun way to bring some Transformers magic into the game. Following these steps, you can design a unique, custom Optimus Prime skin and show off your creation while exploring Minecraft. Time to roll out!
#MinecraftSkins #OptimusPrimeSkin #MinecraftCreations #TransformersMinecraft #SkinEditor #MinecraftDIY #Autobots #GamingCommunity #CustomSkins #MinecraftTutorial