How to Customize Minecraft Wrestling Skins Like a Pro
Introduction
Minecraft allows for creativity and customization, with wrestling fans embracing the opportunity to bring their favorite wrestling stars into the game. This guide provides a step-by-step guide on how to customize wrestling skins.
1. Choosing the Right Tools for Skin Customization
You’ll need to pick the right tools before you dive into creating or modifying your wrestling skins. There are a variety of user-friendly skin editors and resources that allow you to customize Minecraft skins with ease.
- Online Skin Editors: Websites like Minecraftskins.com offer simple, browser-based editors with easy-to-use interfaces. These tools allow you to modify or create new skins from scratch.
- Software Editors: If you prefer working offline or need more advanced features, software like Photoshop or GIMP can be used to edit and create detailed Minecraft skins manually.
Pro Tip: Opt for a tool with a 3D preview feature. This helps you see how your skin will look in the game before you upload it.
2. Finding a Base Wrestling Skin
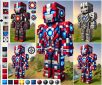
A base skin is a pre-made skin that you can use as a starting point for your customization. If you’re not starting from scratch, using a pre-made wrestling skin as a base can save time and provide a solid foundation for customization. Many wrestling skins are available for download in online Minecraft skin communities.
- Wrestling Legends: Look for existing skins of popular wrestlers like John Cena, The Undertaker, or Rey Mysterio. These can be a great starting point if you want to customize their attire or tweak facial features. However, it’s important to note that using copyrighted material in the game without permission may not be legal, so be cautious when using the skins of real-world wrestlers.
- Create Your Wrestler: If you’re creating an original wrestling character, pick a generic skin as a base and then modify the outfit, hairstyle, and accessories to match your vision.
Pro Tip: Download multiple skins as inspiration to combine different elements. You might love the outfit of one wrestler and the mask design of another.
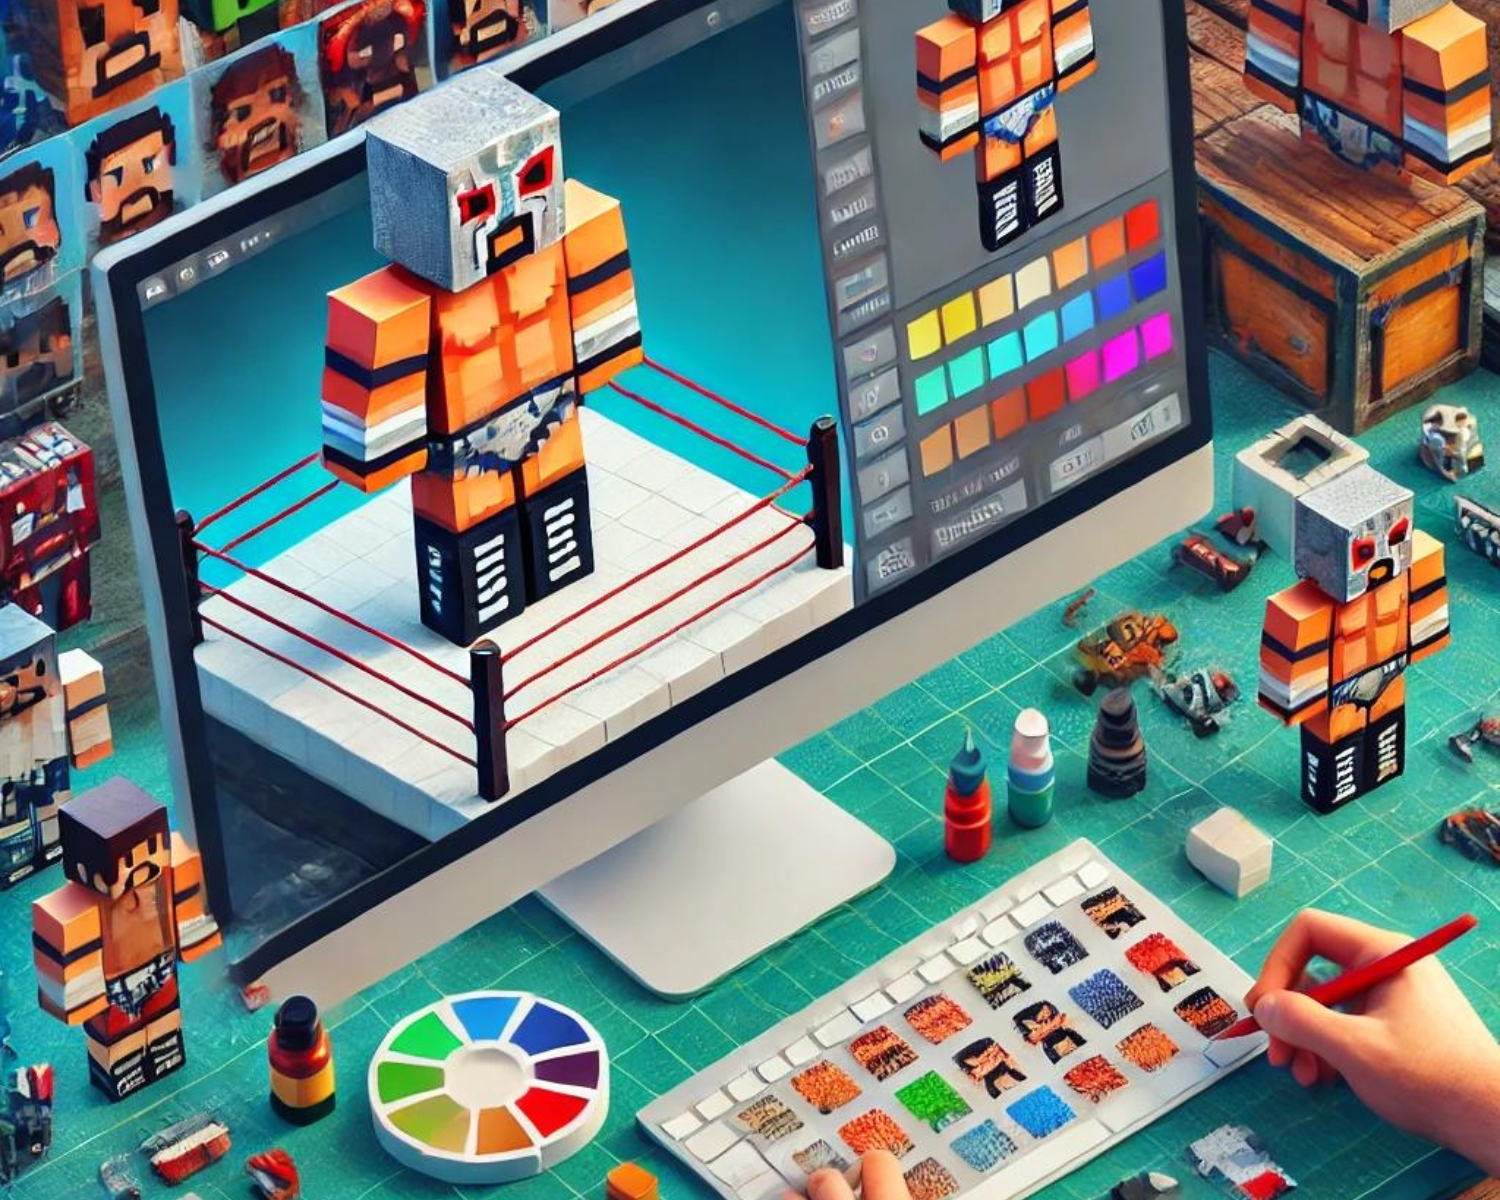
3. Customizing the Skin’s Appearance
Once you have your base skin, it’s time to unleash your creativity and have some fun with customization. Here’s how to modify key elements to create a unique wrestling skin that stands out and truly reflects your vision.
- Outfit and Attire: Wrestling is known for its bold, flamboyant costumes, so feel free to get creative. Use bright colors, custom logos, and accessories like belts or knee pads to replicate the look of your favorite wrestler or create something original.
- Face and Hair: To capture the personality of a wrestling star, focus on facial features and hairstyles. You can add facial hair, eye masks, or long flowing hair to mimic wrestlers’ iconic looks.
- Textures and Shadows: Adding shading or shadows can give your skin a more professional and polished look. You can create depth in clothing and highlight muscular features, making your wrestler’s skin appear more lifelike.
Pro Tip: Use layers to create accessories like wristbands, elbow pads, or capes. Some skin editors allow you to toggle different layers on and off, which adds extra details without complicating the base design.
4. Adding Personal Branding or Logos
If you’re creating your own wrestling persona, personal branding can add a professional touch. In the world of wrestling, personal branding is crucial. Wrestlers often have unique emblems or catchphrases on their gear, which not only make them easily recognizable but also add to their persona. Add logos, patterns, or initials to the outfit, just like real-world wrestlers.
- Team Colors: If your wrestler is part of a faction or tag team, coordinate the skin’s color scheme to match your team’s colors.
- Custom Logos: Design your logo using a pixel art editor, then add it to the chest, back, or boots of your wrestler’s skin.
Pro Tip: Keep the logo simple and bold. Minecraft skins are pixelated, so designs with too much detail may not translate well in-game.
5. Uploading Your Customized Skin
Once you’ve perfected your wrestling skin, it’s time to bring it into the game. Here’s how to upload your customized skin to Minecraft:
- Save your skin as a .png file from your editor.
- Open your Minecraft launcher and log in.
- Navigate to the “Skins” tab.
- Select “New Skin,” upload your customized skin, and name it.
- Save your changes and start playing as your newly customized wrestler.
Final Thoughts
Customizing Minecraft wrestling skins is a fun way to express your love for wrestling while adding a personal touch to your gameplay. With the right tools, a bit of creativity, and some time, you can create skins that resemble your favorite wrestling stars and reflect your unique style.
#MinecraftSkins #WrestlingSkins #MinecraftCustomization #WWEinMinecraft #SkinEditing #GamingTutorial #CustomMinecraftSkins #MinecraftFans #MinecraftMods #GamingCreativity #Wrestling