How to Install and Use Custom Skins in Minecraft
Introduction
If you’re ready to take your Minecraft experience to the next level, customizing your character’s appearance with a custom skin is one of the best ways to express your unique style. Whether you want to rock a heroic look or showcase your creativity, a custom skin makes your gameplay more personal. Here’s how to easily install and use custom skins in Minecraft, ensuring your character stands out on every adventure.
1. Find the Perfect Skin
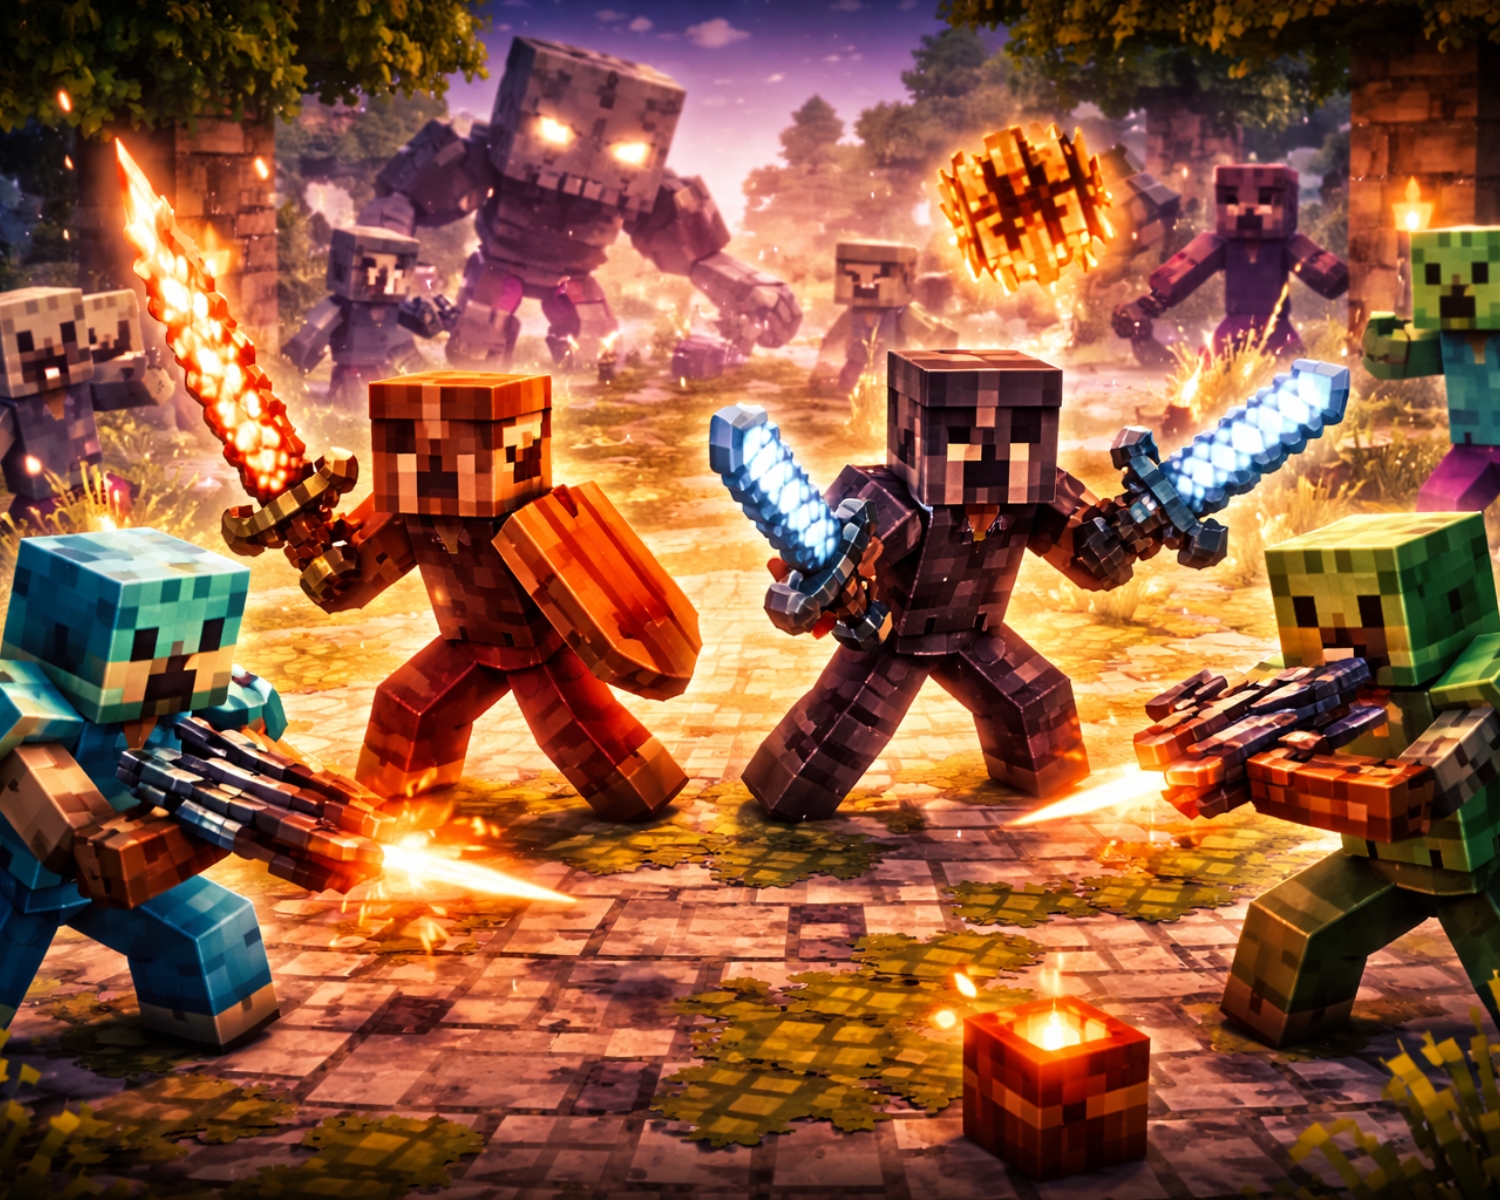
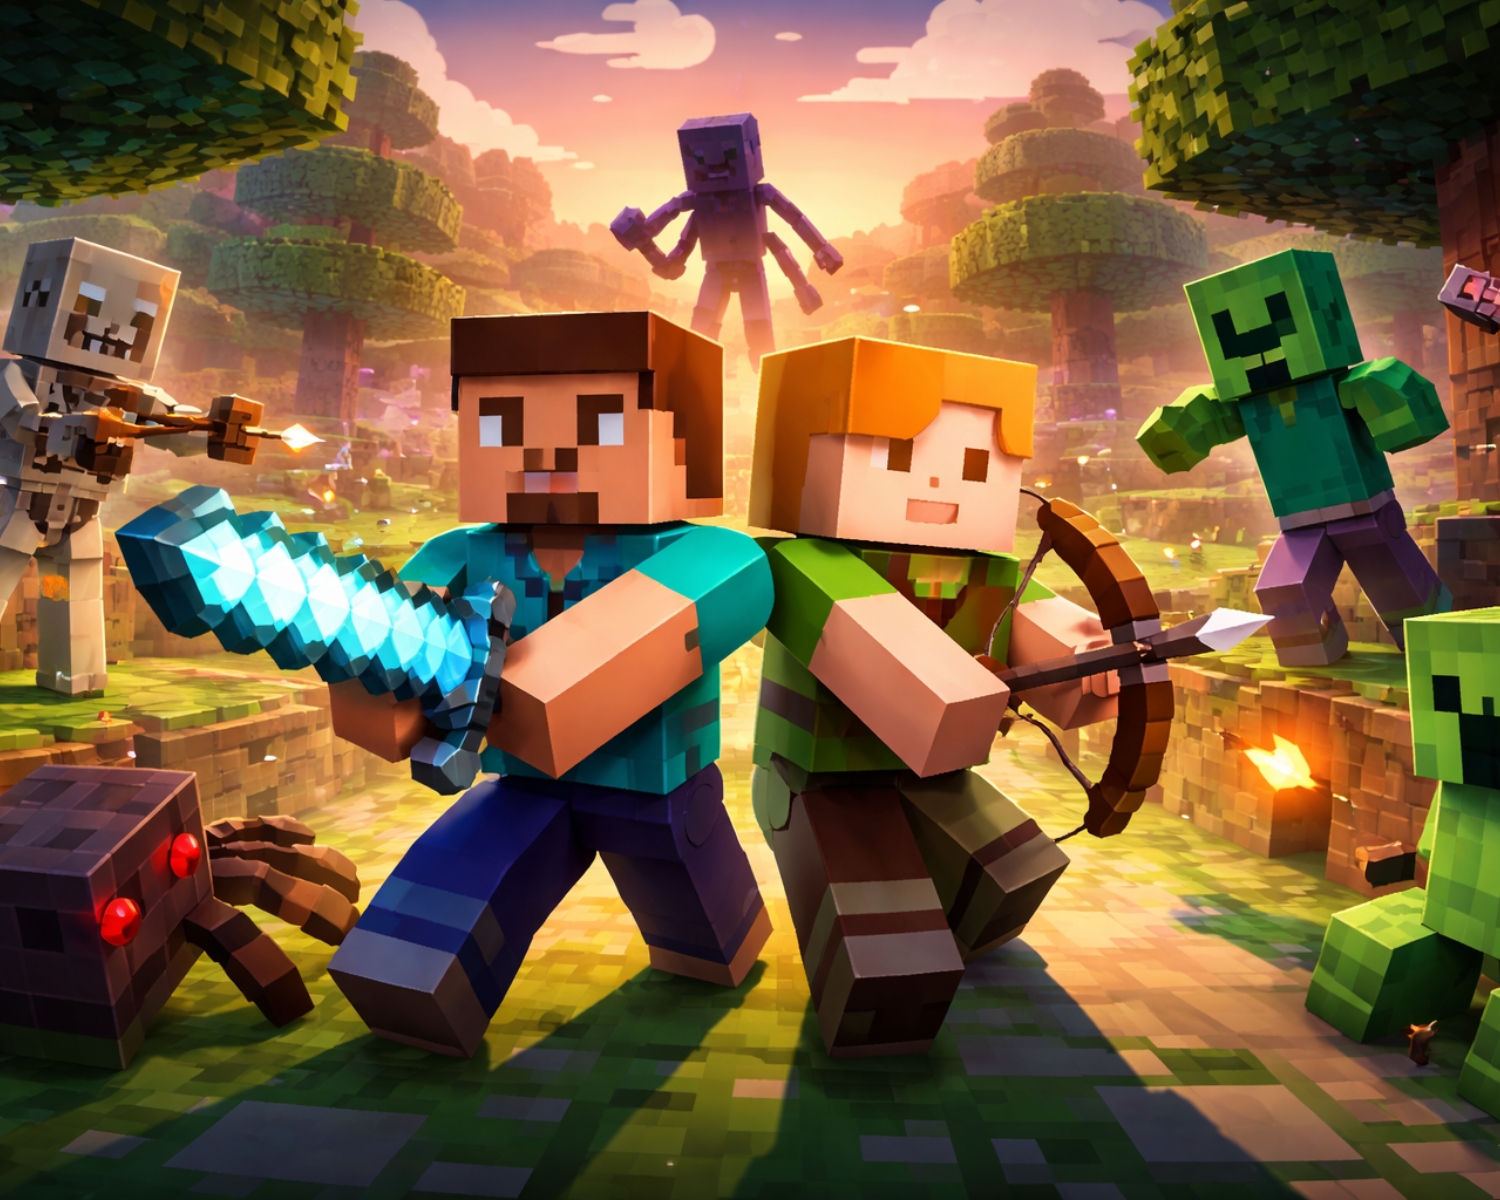
The first step to customizing your Minecraft character is finding the perfect skin that matches your style. At Minecraft Skins, we offer an incredible collection of skins that range from bold and fantastical to lifelike and realistic. Our skins are designed with creativity and attention to detail, giving you endless options to showcase your personality in the pixelated world of Minecraft.
2. Download Your Custom Skin
Once you’ve found a skin you love, it’s time to download it! Head over to the Minecraft Skins website, browse through our collection, and choose a skin that speaks to you. After selecting your skin, click the download button. Your skin will typically download as a PNG file, which is the format Minecraft uses for custom skins.
3. Upload the Skin to Minecraft
To use your new skin, follow these steps:
- Open the Minecraft Launcher and log in to your account.
- On the Minecraft Launcher screen, click your profile (the little icon in the top-right corner).
- Select Profile settings and look for the option that says “Edit Character.”
- In the Skin section, click on the Browse button to upload your new skin.
- Locate the PNG file you just downloaded, select it, and hit Upload.
Now, your custom skin is all set up, and your character is ready to shine!
4. Enjoy Your New Look
After uploading the skin, your character will be fully customized, and you’ll see your new look in both single-player and multiplayer worlds. Whether you’re exploring caves, building masterpieces, or surviving in the wild, your unique skin will make you stand out in Minecraft’s pixelated paradise.
Conclusion
Installing and using custom skins in Minecraft is a fun and easy way to make your gameplay even more personal. With a vast range of options available at Minecraft Skins, you’ll always find the perfect look to express yourself. Get ready to transform your Minecraft experience and become the talk of the server!
#MinecraftSkins #CustomSkins #Minecraft #PersonalizedCharacter #GamingStyle #MinecraftCustomization #MinecraftTips #SkinInstall #GamingCommunity #MinecraftAdventures